At-Home Facial Techniques: Achieving Professional Results from the Comfort of Home
In today’s busy world, finding time to visit a spa for a professional facial can be challenging. However, achieving glowing, healthy skin doesn’t always require a trip to a professional. With the right at-home facial techniques, you can enjoy spa-quality results without leaving your home. This guide will walk you through the best methods and products to enhance your skincare routine, providing you with radiant skin and relaxation.
The Benefits of At-Home Facials
1. Convenience and Flexibility
One of the biggest advantages of at-home facials is convenience. You can perform them at any time that fits your schedule, making it easier to maintain a regular skincare routine. Whether it’s early morning or late at night, you have the flexibility to pamper your skin when it suits you best.
2. Cost-Effective
Regular spa visits can be expensive. By investing in quality skincare products and tools, you can save money in the long run while still achieving professional results. At-home facials allow you to indulge in skincare without the hefty price tag.
3. Customization
At-home facials can be tailored to your specific skin needs. Whether you’re dealing with acne, dryness, or aging, you can choose products and techniques that address your unique concerns, providing a personalized skincare experience.
Essential At-Home Facial Techniques
1. Double Cleansing
Double cleansing is a foundational step in any facial routine. Start with an oil-based cleanser to remove makeup, sunscreen, and impurities. Follow with a water-based cleanser to deeply cleanse your pores and prepare your skin for the next steps.
2. Exfoliation
Peeling is urgent for eliminating dead skin cells and advancing cell turnover. Depending on your skin type, you can use a physical exfoliant (like a scrub) or a chemical exfoliant (such as glycolic acid or salicylic acid). Peel 1-2 times each week to keep your skin smooth and brilliant.
3. Steaming
Steaming helps open up your pores, making it easier to remove impurities and enhancing the absorption of skincare products. Fill a bowl with hot water, lean over it, and cover your head with a towel to trap the steam. Steam your face for 5-10 minutes for best results.
4. Extraction
If you’re comfortable and experienced, you can perform gentle extractions to remove blackheads and whiteheads. Use a sterilized extractor tool and apply light pressure. Avoid over-extraction to prevent skin damage. If unsure, it’s best to skip this step and leave it to professionals.
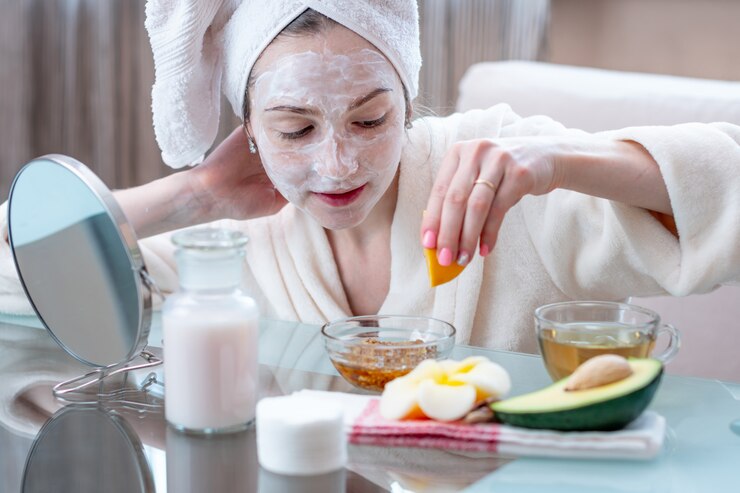
5. Masking
Facial masks provide intensive treatment for various skin concerns. Depending on your needs, choose from hydrating, purifying, or soothing masks. Apply the mask and leave it on for the recommended time before rinsing off. Veils can be utilized 1-3 times each week.
6. Facial Massage
Facial back rub helps flow, advances lymphatic seepage, and improves item assimilation.Use your fingers or a tool like a jade roller or gua sha stone. Apply a facial oil or serum and gently massage your face in upward, circular motions for 5-10 minutes.
7. Toning
Toners help balance your skin’s pH and prepare it for subsequent skincare products. Choose a toner suitable for your skin type and apply it using a cotton pad or by patting it directly onto your skin.
8. Serum Application
Serums are concentrated medicines that target explicit skin concerns. Whether you’re focusing on hydration, brightening, or anti-aging, apply a few drops of serum to your face and gently press it into your skin.
9. Moisturizing
A good moisturizer locks in hydration and protects your skin barrier. Choose a moisturizer that suits your skin type and apply it after your serum. For added benefit, consider using a moisturizer with ingredients like hyaluronic acid or ceramides.
10. Eye Cream
The sensitive skin around your eyes requires extraordinary consideration. Use an eye cream to hydrate and address concerns like dark circles and puffiness. Apply a small amount and gently tap it around the eye area with your ring finger.
Enhancing Your At-Home Facial Experience

1. Use High-Quality Products
Invest in high-quality skincare products that suit your skin type and concerns. Look for products with active ingredients like retinol, peptides, and antioxidants to maximize your at-home facial results.
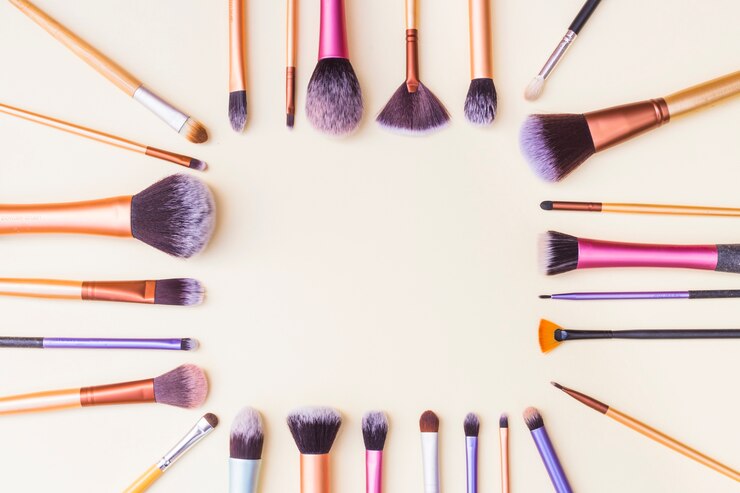
2. Incorporate Skincare Tools
Skincare tools like facial rollers, gua sha stones, and LED light therapy devices can enhance your at-home facial routine. These tools promote circulation, reduce puffiness, and improve product absorption.
3. Create a Relaxing Atmosphere
Set the mood for your at-home facial by creating a spa-like atmosphere. Light some candles, play soothing music, and dim the lights. This relaxation helps reduce stress, which can positively impact your skin’s appearance.
4. Follow a Consistent Routine
Consistency is critical to accomplishing and keeping up with gleaming skin. Incorporate at-home facials into your regular skincare routine. Depending on your skin’s needs, aim for a comprehensive facial routine once a week.
5. Stay Hydrated and Eat Healthily
Healthy skin starts from within. Drink plenty of water and maintain a balanced diet rich in fruits, vegetables, and omega-3 fatty acids. Proper hydration and nutrition support your skin’s health and enhance the results of your at-home facials.
Common Mistakes to Avoid
1. Over-Exfoliating
While exfoliation is beneficial, over-exfoliating can damage your skin barrier and cause irritation. Stick to exfoliating 1-2 times a week and choose gentle exfoliants suited for your skin type.
2. Using Too Many Products
Using too many products at once can overwhelm your skin and cause adverse reactions. Stick to a simple routine with a few effective products and introduce new ones gradually.
3. Ignoring Patch Testing
Always perform a patch test before using new skincare products to avoid allergic reactions or irritation. Apply a small amount of the product on your wrist or behind your ear and wait 24 hours to check for any adverse reactions.
4. Skipping Sunscreen
Sunscreen is essential for protecting your skin from UV damage, which can negate the benefits of your at-home facial routine. Apply a broad-spectrum sunscreen every morning, even if you’re indoors.
Conclusion
At-home facial techniques offer a convenient and cost-effective way to achieve professional skincare results. By incorporating these techniques into your routine and using high-quality products, you can enjoy glowing, healthy skin from the comfort of your home. Remember to stay consistent, avoid common mistakes, and prioritize your skin’s health with a balanced lifestyle. With these at-home facial hacks, radiant skin is within your reach.